
Guides & FAQs
How to Keep Pet Hair Down in House
As a pet owner, I sympathize with the struggle of dealing with pet hair all over the house. It seems no matter how often I clean, it always finds its way into every nook and cranny.
But fear not! I’ve discovered some effective techniques that have helped me keep pet hair at bay. From proper grooming practices to choosing pet-friendly furniture, I’ll share my knowledge and insights on how to manage and minimize pet hair in your home.
Key Takeaways
- Regular vacuuming with a pet hair-specific vacuum cleaner and HEPA filters helps to trap allergens and reduce pet hair accumulation.
- Proper grooming practices, including regular brushing in the direction of hair growth, can significantly reduce shedding and promote a healthy coat.
- Choosing pet-friendly furniture with pet hair-resistant fabrics, removable and washable covers, and regular grooming of pets can help minimize pet hair on upholstery.
- Incorporating dietary changes and supplements such as omega-3 fatty acids, biotin, zinc, and vitamin E can reduce shedding and promote a healthy skin and coat.
Effective Cleaning Techniques
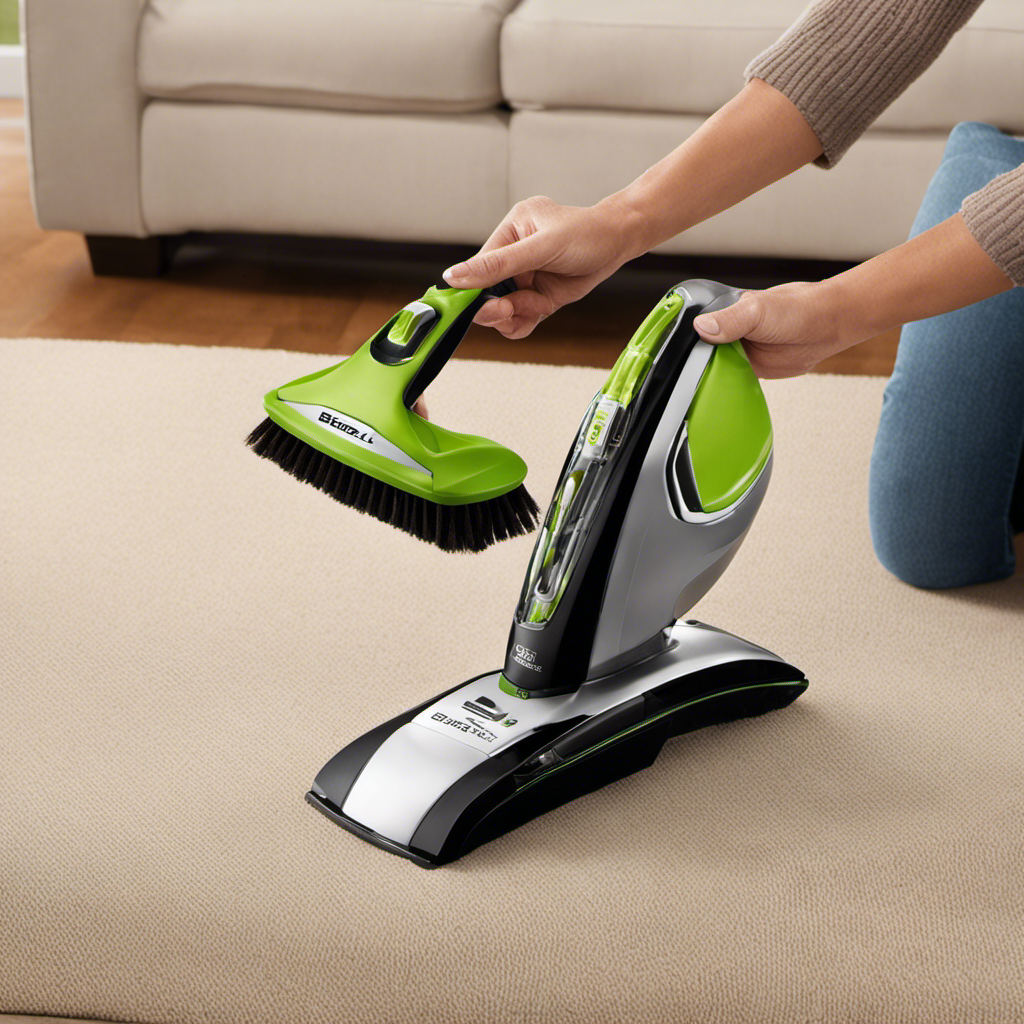
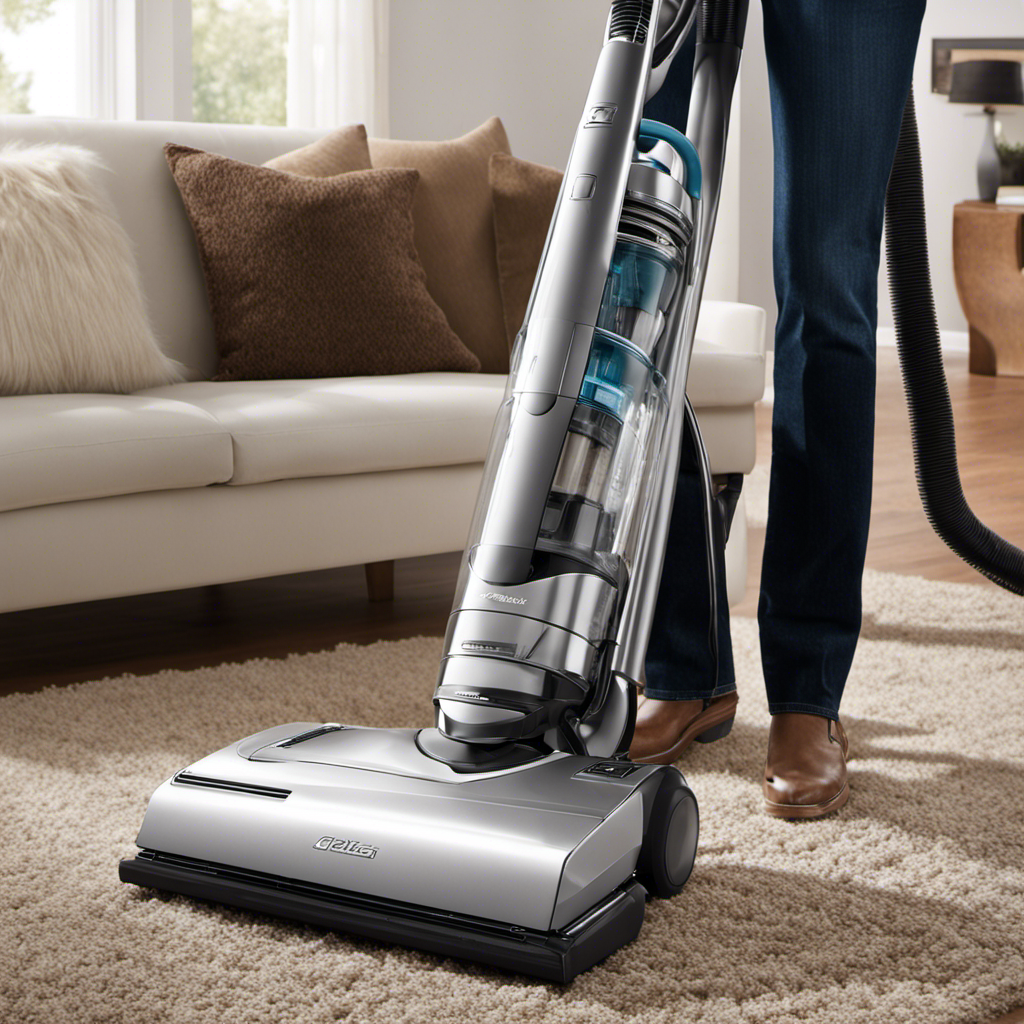
I find that vacuuming regularly and using a lint roller are effective techniques for keeping pet hair down in my house. Not only does it help maintain a clean and tidy living space, but it also plays a crucial role in preventing allergies caused by pet hair.
When it comes to vacuum cleaners, I recommend opting for models specifically designed to tackle pet hair. These typically feature strong suction power and specialized attachments, such as a pet hair brush or a crevice tool for hard-to-reach areas. Look for vacuum cleaners with HEPA filters, as they efficiently trap allergens and prevent them from being released back into the air. By incorporating these cleaning techniques and investing in a reliable vacuum cleaner, you can significantly minimize pet hair and allergens in your home.

Transitioning into the next section about proper grooming practices, regular brushing and bathing also contribute to reducing pet hair around the house.
Proper Grooming Practices
Regularly brushing my furry friend helps to minimize shedding and keep their coat healthy.
Cat grooming and dog brushing are essential for reducing the amount of pet hair in the house.
When it comes to cats, regular brushing not only helps to remove loose hair but also prevents the formation of hairballs. Use a slicker brush or a grooming glove specifically designed for cats to gently remove the loose hair.
For dogs, different breeds require different types of brushes, such as slicker brushes, bristle brushes, or deshedding tools. Brushing your dog’s coat not only helps to minimize shedding but also promotes healthy skin and stimulates blood circulation. Remember to brush in the direction of hair growth and be gentle to avoid causing any discomfort.
Regular grooming sessions will make a significant difference in keeping pet hair under control in your home.
Choosing Pet-Friendly Furniture
Choosing furniture that’s pet-friendly is important to ensure durability and comfort for both me and my furry friend.
When it comes to pet friendly decor options, there are a few key factors to consider. First, it’s important to choose fabrics that are resistant to pet hair and easy to clean. Materials like microfiber or leather are great choices as they don’t trap pet hair and can be easily wiped down. Additionally, furniture with removable and washable covers can make cleaning up pet hair a breeze.
To further minimize pet hair on upholstery, regular grooming and brushing of your pet is essential. This helps to reduce shedding and keeps loose hair from accumulating on your furniture. By investing in pet-friendly furniture and practicing regular grooming, you can create a comfortable and hair-free environment for both you and your pet.
Speaking of grooming, managing shedding with diet and supplements can also be effective in reducing pet hair around the house.
Managing Shedding With Diet and Supplements
To effectively manage shedding, incorporating dietary changes and supplements can significantly reduce the amount of pet hair around my home. Nutritional supplements can help improve the overall health of my pet’s skin and coat, reducing excessive shedding. Omega-3 fatty acids, such as fish oil, can promote a healthy coat and reduce inflammation. Biotin, a B-vitamin, can strengthen hair follicles and reduce shedding. Additionally, adding a high-quality pet food that is rich in nutrients can also improve the condition of my pet’s coat. Controlling shedding requires a holistic approach, and incorporating these dietary changes and supplements can make a noticeable difference. Below is a table summarizing some of the key nutritional supplements that can help control shedding.
| Nutritional Supplement | Benefits |
|---|---|
| Omega-3 Fatty Acids | Promotes a healthy coat and reduces inflammation |
| Biotin | Strengthens hair follicles and reduces shedding |
| Zinc | Supports healthy skin and coat |
| Vitamin E | Promotes healthy skin and reduces shedding |
Maintaining a Regular Cleaning Schedule
I make sure to stick to a consistent cleaning schedule to maintain a clean and tidy home.
One of the key aspects of this schedule is the frequency of vacuuming. I vacuum my home at least twice a week to ensure that any pet hair or dander is removed from the floors and furniture.
By vacuuming regularly, I can prevent the buildup of pet hair, which can be a major source of allergens and odors in the house.
Additionally, I employ effective dusting techniques to further eliminate pet hair and dander. I use a microfiber cloth or a damp cloth to wipe down surfaces, making sure to reach all the nooks and crannies where pet hair might accumulate.
This helps to keep my home clean and free from allergens.
Frequently Asked Questions
How Do I Train My Pet to Not Shed as Much?
To reduce pet shedding, I’ve tried various remedies and grooming techniques. Regular brushing, a balanced diet, and frequent baths have helped. However, it’s important to note that shedding is a natural process for pets.
Are There Any Natural Remedies to Reduce Pet Hair?
Yes, there are several natural remedies to reduce pet hair. I’ve found that regular brushing, a balanced diet, and using a damp cloth to wipe down surfaces can significantly help manage pet hair in the house.
Can I Prevent Pet Hair From Sticking to My Clothes?
I can prevent pet hair from sticking to my clothes by regularly grooming my pet, using lint rollers, and wearing clothes made of materials that repel pet hair. Additionally, I can cover furniture and use seat covers in my car to avoid pet hair accumulation.
What Should I Do if My Pet Has Sensitive Skin and Excessive Shedding?
When my pet has sensitive skin and sheds excessively, I prioritize their well-being. I use safe products for sensitive skin and implement strategies to manage and reduce shedding, ensuring their comfort and a clean home.
Are There Any Specific Vacuum Cleaners or Cleaning Tools That Work Best for Pet Hair?
I found that the best vacuum cleaners for pet hair are the ones with strong suction power and specialized pet hair attachments. Effective cleaning tools include lint rollers, rubber gloves, and microfiber cloths.
Conclusion
In conclusion, by implementing effective cleaning techniques and proper grooming practices, you can successfully keep pet hair down in your house.
Choosing pet-friendly furniture and managing shedding with diet and supplements are also important strategies.
Additionally, maintaining a regular cleaning schedule is crucial for staying on top of pet hair.
Remember, tackling pet hair is like taming a wild beast, but with consistent effort and the right strategies, you can create a clean and hair-free environment for you and your furry friend.
So, let’s unleash our cleaning powers and conquer the battle against pet hair!

Clarise is the guiding force behind the editorial excellence at Pet Hair Vacuum Critic. With a wealth of experience and a deep passion for pets, she brings a unique perspective to our team.
Clarise’s journey into the world of pet hair management began as a pet owner herself. Her hands-on experience, coupled with her natural curiosity, led her to delve into the nuances of keeping a clean and fur-free home while ensuring her pets were comfortable.


Did you know that 63% of pet owners struggle with pet hair sticking to their clothes?
If you’re like me, finding a way to keep your clothes hair-free seems like an impossible task. But fear not! I’ve discovered some simple yet effective strategies that will help you prevent clothes from picking up pet hair.
From choosing the right fabrics to grooming your pet regularly, I’ll show you how to keep your outfits looking clean and fur-free.
Key Takeaways
- Choosing fabrics like polyester, nylon, and spandex can help repel pet hair and keep clothes clean.
- Regular grooming and brushing of pets can reduce loose fur on clothes, especially important for households with pet hair allergies.
- Lint rollers and sticky tape are effective tools for removing pet hair from clothes.
- Taking preventive measures such as regular vacuuming, designating a pet-free zone, and using furniture covers can help control and remove pet hair from clothes.
Understand the Causes of Pet Hair on Clothes
I’ll explain why pet hair ends up on our clothes.
One of the main causes of shedding is the natural cycle of hair growth that animals go through. Just like humans, pets have hair that grows, dies, and falls out. This shedding process is completely normal, but it can be quite frustrating when it ends up on our clothes.
Another factor to consider is pet hair allergies. Some people are allergic to the proteins found in pet dander, which can lead to sneezing, itching, and other uncomfortable symptoms. When pets shed, their hair and dander can easily attach to our clothing, making it difficult to avoid.
It’s important to understand these causes so that we can take proactive steps to prevent pet hair from sticking to our clothes.
Choose Fabrics That Resist Pet Hair
It’s important to select fabrics that repel pet hair when choosing clothing. Pet hair resistant clothing can make a huge difference in keeping your clothes clean and free from those pesky furballs. Look for fabrics like polyester, nylon, and spandex, as they’ve a smoother texture that makes it harder for pet hair to stick.
Avoid materials like wool or velvet, as they tend to attract and hold onto pet hair. Additionally, consider alternative grooming techniques for pets with heavy shedding. Regular brushing can help remove loose hair before it ends up on your clothes.
You can also use a pet hair roller or sticky lint brush to quickly remove any stray hairs that do manage to cling to your clothing. Taking these steps will ensure that you can enjoy your pets without constantly battling the pet hair battle.
Properly Groom and Brush Your Pet
Regular grooming and brushing keeps my pet’s coat healthy and reduces the amount of loose fur that ends up on my clothes. This is especially important if you or someone in your household has pet hair allergies. By regularly grooming your pet, you can minimize the shedding and dander that often triggers allergic reactions. If you don’t have the time or expertise to groom your pet properly, consider taking them to a professional pet groomer. These professionals have the knowledge and tools to give your pet a thorough grooming, which can greatly reduce the amount of loose fur that ends up on your clothes. Plus, they can also provide additional services like nail trimming and ear cleaning to keep your pet healthy and comfortable.
So, if you want to keep your clothes pet hair-free, make sure to prioritize regular grooming and consider professional pet grooming services.
To further tackle the issue of pet hair on clothes, there are additional methods you can use. One effective solution is to use lint rollers and sticky tape. These handy tools are designed to pick up and remove pet hair from clothing and other surfaces. Simply roll the lint roller over your clothes, and the sticky surface will grab onto the pet hair, leaving your clothes looking clean and hair-free. Alternatively, you can also use sticky tape by wrapping it around your hand with the sticky side facing outwards. Gently pat your clothes, and the tape will pick up the pet hair. Both lint rollers and sticky tape are convenient and easy-to-use options for quickly removing pet hair from your clothes, ensuring you always look neat and tidy.
Use Lint Rollers and Sticky Tape
Using a lint roller or sticky tape is a practical solution for removing unwanted fur from clothing. When it comes to dealing with pet hair, these simple tools can be lifesavers.
I always keep a lint roller in my closet for those last-minute touch-ups before heading out the door. It’s easy to use: simply roll it over your clothes, and the sticky surface will pick up any pet hair in its path.
If you don’t have a lint roller on hand, you can also use sticky tape. Just wrap it around your hand with the sticky side facing out and gently dab it on your clothes.
Another tip is to use fabric softener when washing your clothes, as it helps to repel pet hair.
Lastly, consider investing in a pet hair remover, which is specifically designed to tackle stubborn fur.
With these techniques, you can keep your clothes hair-free and fresh.
Take Preventive Measures in Your Home
To keep my home free from excessive fur, I vacuum the floors and furniture regularly. However, there are additional preventive measures I take to ensure that pet hair doesn’t become a constant nuisance. Here are three simple steps you can follow to create a pet-free zone in your home:
-
Designate a specific area: Set boundaries by creating a designated pet-free zone in your home. This could be a particular room or furniture that you want to keep fur-free.
-
Invest in a good quality pet hair remover brush: A high-quality pet hair remover brush will be your best friend when it comes to removing stubborn pet hair from furniture, carpets, and clothing. Look for one with strong bristles that can easily lift and trap pet hair.
-
Use furniture covers and blankets: To protect your furniture from pet hair, consider using furniture covers or blankets that can be easily removed and washed. This won’t only keep your furniture clean but also make it easier to remove pet hair when needed.
Frequently Asked Questions
Can I Use Fabric Softener to Prevent Pet Hair From Sticking to My Clothes?
Yes, fabric softener can help reduce pet hair on clothes. However, there are alternative methods and natural remedies you can try too. Regularly brushing your pet, using lint rollers, or wearing clothes made of certain fabrics can also be effective.
How Often Should I Groom My Pet to Minimize Pet Hair on My Clothes?
I groom my pet regularly to minimize shedding and keep pet hair off my clothes. It’s important to find effective methods for removing pet hair from furniture to prevent it from transferring onto clothing.
Are There Any Specific Lint Rollers or Sticky Tapes That Work Best for Removing Pet Hair?
I found that the best lint rollers for removing pet hair are the sticky tape ones. However, if you’re looking for alternative methods, brushing your clothes with a damp sponge or using a rubber glove can also be effective.
Can I Use Dryer Sheets to Remove Pet Hair From My Clothes?
Yes, I can use dryer sheets to remove pet hair from my clothes. However, using a lint roller is a more effective option as it can pick up more hair and leave your clothes looking clean.
What Are Some Preventive Measures I Can Take in My Car to Avoid Pet Hair on My Clothes?
To prevent pet hair on my clothes in the car, I make sure to use a seat cover and regularly vacuum the upholstery. I also keep a lint roller handy for quick touch-ups.
Conclusion
To keep your clothes free from pesky pet hair, understanding the causes and taking preventive measures is key. Choose fabrics that resist hair and regularly groom your furry friend to minimize shedding.
Utilize lint rollers and sticky tape to quickly remove any unwanted hair. By implementing these practical tips, you can ensure your wardrobe stays hair-free and keep your style looking fresh and clean.
Clarise is the guiding force behind the editorial excellence at Pet Hair Vacuum Critic. With a wealth of experience and a deep passion for pets, she brings a unique perspective to our team.
Clarise’s journey into the world of pet hair management began as a pet owner herself. Her hands-on experience, coupled with her natural curiosity, led her to delve into the nuances of keeping a clean and fur-free home while ensuring her pets were comfortable.
As a pet owner, I am very familiar with the constant struggle of dealing with pet hair all over the place.
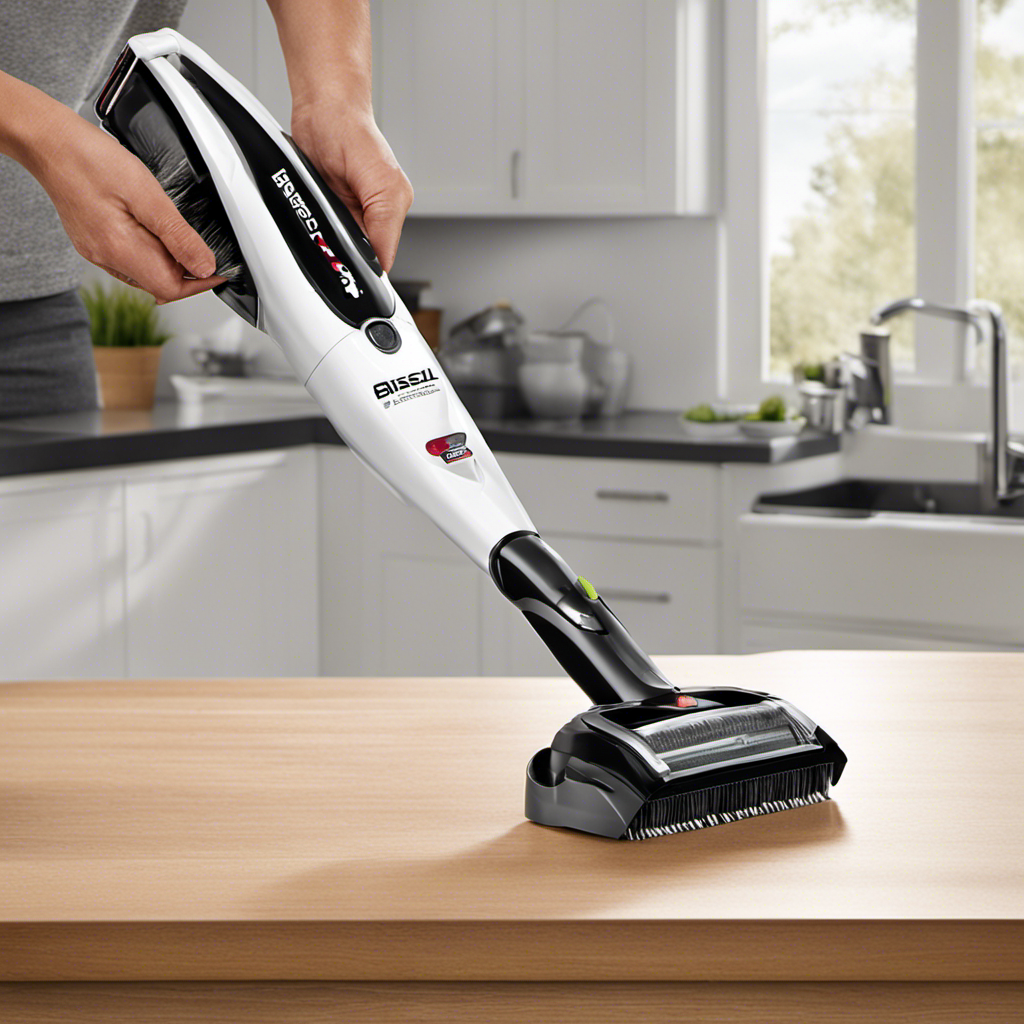
Did you know that the Bissell Pet Hair Eraser is one of the top-rated vacuums for tackling this problem?
However, some users have experienced a frustrating issue – the vacuum flopping around during use.
In this article, I’ll share some tips and tricks to help you make your Bissell Pet Hair Eraser stay firmly in place, so you can say goodbye to flopping and hello to a fur-free home.
Key Takeaways
- Regularly clean the brush roll to prevent clogs
- Empty the dirt canister to maintain smooth operation
- Use the crevice tool and upholstery tool to reach hard-to-reach areas
- Properly use the accessories to minimize the flopping issue
Understanding the Flopping Issue
I can’t figure out why my Bissell Pet Hair Eraser keeps flopping around while I’m using it. It’s frustrating because it disrupts my cleaning process and makes it difficult to effectively pick up pet hair.
After doing some research, I’ve discovered that preventing pet hair clogs is crucial in preventing the flopping issue. Regularly cleaning the brush roll and emptying the dirt canister can help prevent clogs and keep the vacuum running smoothly.
Additionally, using the accessories that come with the vacuum, such as the crevice tool and the upholstery tool, can help reach those hard-to-reach areas where pet hair tends to accumulate. By properly using these accessories, you can ensure a thorough clean and minimize the flopping issue.
Now, let’s move on to the next section about proper assembly and installation, which will further address this problem.
Proper Assembly and Installation
To properly assemble and install the Bissell pet hair eraser, start by following the instructions provided in the user manual. This will ensure that you avoid common assembly mistakes and troubleshoot any problems that may arise.
Here are some emotional responses that may occur when encountering these issues:
-
Frustration: Trying to assemble the Bissell pet hair eraser without guidance can lead to frustration and wasted time.
-
Confusion: Without proper instructions, it can be confusing to figure out which parts go where and how to properly connect them.
-
Disappointment: Discovering that the pet hair eraser isn’t functioning as expected due to assembly errors can be disappointing.
Adjusting the Suction Power
Adjusting the suction power on this vacuum cleaner is a simple process that allows me to customize the cleaning experience to my specific needs. By enhancing the performance of the vacuum, I can effectively remove pet hair and other debris from my floors and furniture. To adjust the suction power, I simply need to locate the suction control dial on the vacuum cleaner. This dial is usually located on the body of the vacuum, near the handle or on the front of the machine. By turning the dial to the desired setting, I can increase or decrease the suction power to match the surface I am cleaning. This feature is particularly useful when using different pet hair removal techniques, such as using specific attachments or cleaning delicate surfaces.
| Setting | Purpose |
|---|---|
| Low | Gentle suction for delicate surfaces |
| Medium | Standard suction for most surfaces |
| High | Powerful suction for deep cleaning |
With the ability to adjust the suction power, I can confidently tackle any pet hair mess with ease. Whether it’s a light dusting on hardwood floors or a stubborn clump on the carpet, this feature allows me to customize the cleaning experience and achieve the best results.
Cleaning and Maintenance Tips
Maintaining the cleanliness and performance of this vacuum cleaner is crucial for optimal functionality and longevity. As a pet owner, I understand the struggle of dealing with pet hair and the importance of a reliable vacuum cleaner.
Here are some key tips to keep your vacuum cleaner in top shape and effectively remove pet hair:
- Regularly clean the brush roll to prevent clogging and ensure efficient hair removal.
- Empty the dustbin frequently to maintain suction power and prevent odors.
- Use pet-specific attachments or accessories for targeted hair removal on upholstery and stairs.
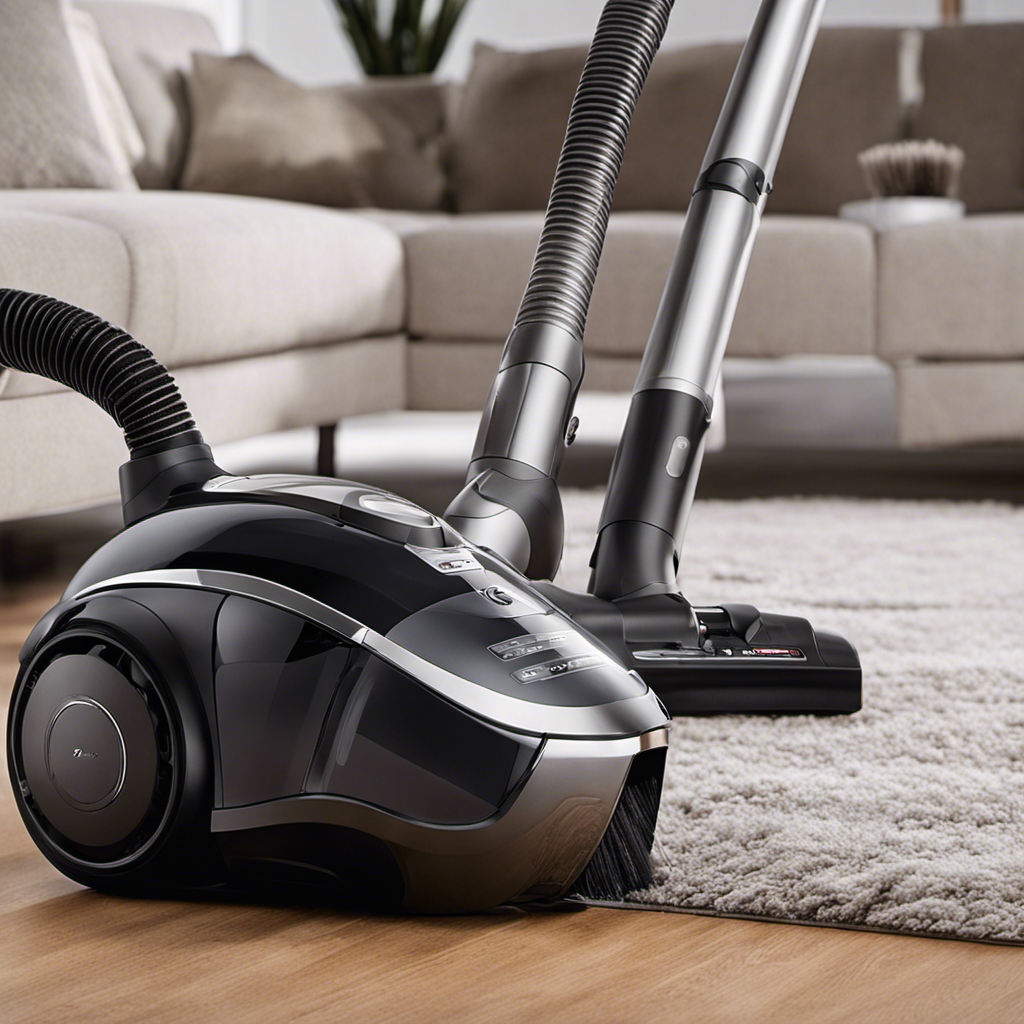
Choosing the right vacuum cleaner for pet owners is essential. Look for features such as strong suction power, specialized pet hair attachments, and HEPA filters to effectively capture allergens. Remember to regularly clean or replace filters to maintain optimal performance.
By following these cleaning and maintenance tips, you can ensure your vacuum cleaner remains efficient in removing pet hair.
Now, let’s explore some common troubleshooting solutions to address any issues you may encounter.
Troubleshooting and Common Solutions
When facing issues with my vacuum cleaner, troubleshooting and finding common solutions is essential for resolving the problem.
One common issue I encounter is pet hair getting stuck in the vacuum cleaner. To overcome this, there are a few common pet hair removal techniques that can be quite effective.
Firstly, using a rubber glove and rubbing it over the affected area can help loosen the hair.
Alternatively, using a lint roller or a sticky tape can also be effective in removing pet hair from the vacuum cleaner.
Additionally, using accessories specifically designed for pet hair removal, such as a pet hair attachment or a brush roll cleaner, can greatly enhance the cleaning process.
Frequently Asked Questions
Can the Bissell Pet Hair Eraser Be Used on All Types of Flooring?
Yes, the Bissell Pet Hair Eraser can be used on all types of flooring, including carpets and hardwood floors. It is safe and effective for removing pet hair from any surface.
How Long Does It Typically Take for the Bissell Pet Hair Eraser to Fully Charge?
To maximize battery life on my Bissell Pet Hair Eraser, I make sure to fully charge it before using. I also follow these tips for effective pet hair removal: brush the area before vacuuming and use the appropriate attachments.
Is the Bissell Pet Hair Eraser Suitable for Households With Multiple Pets?
The Bissell Pet Hair Eraser is great for households with multiple pets. It has pros like powerful suction and specialized attachments, but cons like occasional flopping. Tips for effective use include regular maintenance and using the right attachment for different types of pet hair.
Can the Bissell Pet Hair Eraser Pick up Larger Debris, Such as Food Crumbs or Paper?
Yes, the Bissell Pet Hair Eraser can pick up larger debris like food crumbs or paper. It’s effective at picking up pet hair compared to other vacuums and can be used on both carpeted and hard floors.
Does the Bissell Pet Hair Eraser Come With Any Additional Attachments for Cleaning Upholstery or Other Surfaces?
Yes, the Bissell Pet Hair Eraser does come with additional attachments for cleaning upholstery and other surfaces. It includes upholstery cleaning tools and multi-surface cleaning attachments for a thorough cleaning experience.
Conclusion
In conclusion, with these simple tips and tricks, you can say goodbye to the flopping issue of your Bissell Pet Hair Eraser.
By understanding the problem, properly assembling and adjusting the suction power, as well as implementing regular cleaning and maintenance, you’ll have a hassle-free cleaning experience.
So don’t let your vacuum flop around like a fish out of water, follow these steps and enjoy a pet hair-free home!
Clarise is the guiding force behind the editorial excellence at Pet Hair Vacuum Critic. With a wealth of experience and a deep passion for pets, she brings a unique perspective to our team.
Clarise’s journey into the world of pet hair management began as a pet owner herself. Her hands-on experience, coupled with her natural curiosity, led her to delve into the nuances of keeping a clean and fur-free home while ensuring her pets were comfortable.
Setting up the Bissell Pet Hair Eraser feels like completing a puzzle, but without requiring any detective skills. It’s a simple job that anyone can easily learn.
In this guide, I’ll walk you through the step-by-step instructions on how to open this handy device for cleaning. We’ll cover everything from the tools you’ll need to the proper maintenance and storage techniques.
Get ready to say goodbye to pet hair and hello to a cleaner home!
Key Takeaways
- Unplug the vacuum before starting any cleaning or maintenance.
- Locate the screws that hold the outer casing in place and use a screwdriver to remove them.
- Lift off the outer casing to access the internal components.
- Follow the user manual and troubleshooting guide provided by Bissell for specific instructions on opening and cleaning the vacuum.
Tools Needed for Cleaning the Bissell Pet Hair Eraser
I’ll need a screwdriver to open up and clean the Bissell Pet Hair Eraser.
When it comes to cleaning techniques and best practices for this vacuum, there are a few key things to keep in mind.
Firstly, always make sure to unplug the vacuum before attempting any cleaning or maintenance. This ensures your safety and prevents any electrical mishaps.
Secondly, refer to the user manual for specific instructions on how to open and clean the Bissell Pet Hair Eraser. It will provide step-by-step guidance and help you avoid any potential damage.
Lastly, use a soft, damp cloth to wipe down the exterior of the vacuum and remove any dust or debris. This will keep the vacuum looking clean and functioning at its best.
Step-By-Step Instructions on Opening the Bissell Pet Hair Eraser
To start, I’ll carefully remove the outer casing of the device.
The Bissell Pet Hair Eraser is a versatile and efficient vacuum cleaner specifically designed for pet owners. Cleaning it regularly is essential to maintain its performance and longevity.
To open the device, first, unplug it from the power source. Next, locate the screws that hold the outer casing in place. Using a screwdriver, loosen and remove these screws. Gently lift off the outer casing to reveal the internal components.
Now, you’ve access to the brush roll, filters, and other areas that may require cleaning. Refer to the troubleshooting guide provided by Bissell for specific cleaning techniques and maintenance tips.
Remember to always follow safety precautions and consult the user manual for detailed instructions.
Tips for Removing Pet Hair From the Bissell Pet Hair Eraser
Removing pet hair from the Bissell vacuum is easier with a specialized pet hair attachment. This attachment is designed to effectively remove even the most stubborn pet hair from various surfaces. To ensure optimal performance, it is important to follow some tips for removing pet hair from the Bissell Pet Hair Eraser. First, make sure the vacuum is turned off and unplugged before removing the attachment. Then, attach the pet hair attachment to the vacuum’s hose or wand. Next, use a back and forth motion to gently agitate the pet hair and allow the attachment’s bristles to grab and lift the hair. If you encounter any issues, refer to the table below for common troubleshooting solutions.
| Issue | Solution |
|---|---|
| Attachment not picking up pet hair | Check for clogs or obstructions in the attachment and remove if necessary. |
| Attachment not staying in place | Ensure the attachment is securely attached to the vacuum’s hose or wand. |
| Attachment not rotating properly | Clean any debris or tangled hair from the attachment’s bristles and make sure they are not worn out. |
| Attachment not fitting properly | Check if the attachment is compatible with your specific model of the Bissell Pet Hair Eraser. |
Cleaning the Brush Roll and Filter of the Bissell Pet Hair Eraser
After unplugging the vacuum, it’s important to check for any debris or tangles in the brush roll and remove them if necessary. Cleaning the brush roll of the Bissell Pet Hair Eraser is essential to maintain its optimal performance. Here are some cleaning techniques and troubleshooting common issues to keep in mind:
-
Remove the brush roll cover by releasing the clips or screws holding it in place. This will give you access to the brush roll.
-
Use a pair of scissors or a seam ripper to carefully cut away any hair or string that may be tangled around the brush roll. Be cautious not to damage the bristles or belt.
-
Check the brush roll for any signs of wear or damage. If the bristles are worn down or the roll is cracked, it may need to be replaced.
-
Clean the brush roll and surrounding area with a damp cloth to remove any dirt or debris that may be affecting its performance.
Proper Maintenance and Storage of the Bissell Pet Hair Eraser
I always make sure to store my Bissell vacuum in a dry and secure location to protect it from any potential damage. Proper maintenance and storage are essential for prolonging the lifespan of the Bissell Pet Hair Eraser.
To ensure optimal performance, it’s recommended to follow a regular maintenance schedule. This includes cleaning the brush roll and filter regularly, as discussed in the previous subtopic.
Additionally, it’s important to troubleshoot common issues that may arise. If the vacuum isn’t picking up debris effectively, check for clogs in the hose or brush roll. If the suction power seems weak, clean or replace the filter.
Frequently Asked Questions
Can I Use Any Type of Cleaning Solution to Clean the Bissell Pet Hair Eraser?
Yes, you can use any type of cleaning solution to clean the Bissell Pet Hair Eraser. However, it is recommended to use the cleaning solution provided by Bissell for optimal results and to avoid damaging the machine.
How Often Should I Clean the Bissell Pet Hair Eraser?
I clean my vacuum cleaner regularly to keep it in good condition. Regular cleaning has many benefits, such as improving suction power and preventing clogs. Knowing how often to clean it is important for optimal performance.
Can I Wash the Filter of the Bissell Pet Hair Eraser?
Yes, you can wash the filter of the Bissell Pet Hair Eraser. Simply open the device, remove the filter, and wash it with a mild cleaning solution. Make sure to let it dry completely before reinstalling.
Is It Safe to Use the Bissell Pet Hair Eraser on Delicate Fabrics?
Yes, it is safe to use the Bissell Pet Hair Eraser on delicate fabrics. Its specialized attachments and gentle suction power ensure that it effectively removes pet hair without causing any damage to delicate materials.
What Should I Do if the Brush Roll of the Bissell Pet Hair Eraser Gets Stuck?
If my Bissell Pet Hair Eraser’s brush roll gets stuck, I’ll try troubleshooting tips like checking for tangled hair or debris. If that doesn’t work, I’ll open it up for maintenance.
Conclusion
In conclusion, cleaning the Bissell Pet Hair Eraser is a breeze with the right tools and step-by-step instructions. By properly maintaining and storing this powerful pet hair remover, you can ensure its longevity and effectiveness.
Remember to regularly clean the brush roll and filter to keep your Bissell Pet Hair Eraser in top shape. With these tips, your furry friends can enjoy a clean and hair-free environment, and you can have peace of mind.
Clarise is the guiding force behind the editorial excellence at Pet Hair Vacuum Critic. With a wealth of experience and a deep passion for pets, she brings a unique perspective to our team.
Clarise’s journey into the world of pet hair management began as a pet owner herself. Her hands-on experience, coupled with her natural curiosity, led her to delve into the nuances of keeping a clean and fur-free home while ensuring her pets were comfortable.
-
 Guides & FAQs3 months ago
Local Customer Raves About Prompt Delivery
-
 Vacuums for Pet Hair Removal2 months ago
What Is Different About a Pet Hair Vacuum
-
 Guides & FAQs3 months ago
Local Resident Raves About Amazing Service
-
 Guides & FAQs3 months ago
Local Customer Raves About Graco’s Excellent Service
-
 Guides & FAQs3 months ago
Thrilled Customer Raves About Graco’s Outstanding Products
-
 Guides & FAQs3 months ago
Sydney Customer Raves About Amazing Paint Experience
-
 Vacuums for Pet Hair Removal2 months ago
What Is Best Vacuum for Pet Hair
-
 Guides & FAQs3 months ago
Pet Hair Under Contact Lense, What to Do