
Pet Hair Removal
How to Take the Tool Attachment Apart to Remove Pet Hair on a Bissell Spot Clean

Were you aware that your Bissell Spot Clean’s tool attachment can become clogged with pet fur? Fear not, I have a solution for you.
In this article, I’ll show you step by step how to take apart the tool attachment to access and remove that pesky pet hair.
With just a few simple tools and a little bit of know-how, you’ll have your Bissell Spot Clean looking and functioning like new in no time.
Let’s get started!
Key Takeaways
- Disconnecting the tool attachment requires locating the release button or lever and carefully pulling it away from the main unit.
- It is important to thoroughly inspect and clean the brush head, attachment hose, and connection points regularly to prevent pet hair buildup.
- Taking apart the tool attachment by removing screws or clips allows access to hidden areas where pet hair may be trapped.
- After disassembling the attachment, it is necessary to brush away trapped pet hair, wipe down each part, and use a lint roller or sticky tape to remove loose pet hair from surfaces.
Step 1: Gather the Necessary Tools

First, I’ll gather the necessary tools to start removing the pet hair from my Bissell Spot Clean. Tool attachment maintenance is essential to keep the machine working efficiently.
To effectively remove pet hair, I’ll need a few items. Firstly, I’ll grab a pair of tweezers to carefully pluck out any stubborn hairs that may be tangled in the bristles.
Additionally, a small brush or toothbrush will help me dislodge any loose hair from the attachment. A vacuum cleaner with a hose attachment can also be useful to suck up any loose hair that I dislodge.
Lastly, a lint roller or adhesive tape will come in handy to pick up any remaining hair that may be stuck to the attachment.
With these tools at hand, I’m ready to tackle the pet hair problem on my Bissell Spot Clean.
Step 2: Disconnect the Tool Attachment From the Bissell Spot Clean
Next, I simply detach the accessory from my Bissell Spot Clean. To disconnect the tool attachment, locate the release button or lever located on the handle of the cleaning tool. Press or slide the release button or lever in the direction indicated by the arrows. This will unlock the tool attachment from the main body of the Bissell Spot Clean. Once unlocked, carefully pull the tool attachment away from the main unit. Be cautious not to apply excessive force, as this may cause damage. With the tool attachment disconnected, I can now proceed to remove pet hair that may be trapped inside. This is an essential step to ensure optimal cleaning performance.
| Release Button/Lever | Direction | Action |
|---|---|---|
| Located on handle | Press or slide | Unlock tool attachment |
In the subsequent section, I will discuss step 3: identifying the areas where pet hair might be trapped.
Step 3: Identify the Areas Where Pet Hair Might Be Trapped
To ensure thorough cleaning, I carefully inspect the different areas of my Bissell Spot Clean where pet hair may have become trapped. One common mistake to avoid when removing pet hair from a tool attachment isn’t checking all the nooks and crannies. Pet hair can easily get stuck in the bristles or crevices of the attachment, so it’s important to be thorough.
I start by examining the brush head, making sure to remove any visible hair or debris. Next, I check the attachment hose, paying close attention to any bends or curves where hair might accumulate. Finally, I inspect the connection points between the attachment and the Spot Clean, as hair can sometimes get trapped there as well.
To prevent pet hair buildup in the future, it’s important to clean the tool attachment regularly. I recommend using a small brush or toothbrush to remove any hair or debris from the bristles, and wiping down the attachment with a damp cloth.
Step 4: Take Apart the Tool Attachment to Access the Pet Hair
I carefully examine the different components of the tool to access any trapped pet hair. To clean other attachments on a Bissell Spot Clean, it’s important to understand the disassembly process.
First, I locate the screws or clips that hold the attachment together. Using a screwdriver or my fingers, I loosen and remove these fasteners.
Next, I separate the different parts of the attachment, including the brush head, nozzle, and any other detachable components. By doing this, I can access hidden areas where pet hair may be trapped.
It’s essential to clean each part thoroughly, using a brush or cloth to remove any debris or hair. Additionally, to prevent pet hair build-up on tool attachments, I recommend regularly brushing and grooming your pets and vacuuming your furniture and carpets. These preventative measures can significantly reduce the amount of pet hair that accumulates on the attachments.
With the tool attachment disassembled, I’m now ready to move on to the next step: removing the pet hair and cleaning the tool attachment.
Step 5: Remove the Pet Hair and Clean the Tool Attachment
After disassembling the tool attachment, I carefully brush away the trapped pet hair and wipe down each part to ensure a thorough cleaning. Removing pet hair from other household appliances can be a challenging task, but with the right methods, it can be done effectively. Here are three steps to help you remove pet hair and prevent buildup in your home:
-
Use a lint roller or sticky tape: These tools are great for picking up loose pet hair from surfaces such as furniture, curtains, or clothing. Simply roll the lint roller or press the sticky tape onto the affected area to lift the hair away.
-
Vacuum regularly: Invest in a pet-friendly vacuum cleaner with strong suction and specialized attachments for removing pet hair. Vacuum your carpets, rugs, and upholstery at least once a week to prevent hair buildup.
-
Groom your pets regularly: Regular brushing and grooming sessions can significantly reduce the amount of loose hair your pets shed. This won’t only minimize the amount of hair spread throughout your home but also promote a healthier coat for your furry friends.
Frequently Asked Questions
Can I Use Any Type of Tool Attachment to Remove Pet Hair From My Bissell Spot Clean?
Yes, I can use various types of tool attachments to effectively remove pet hair from my Bissell Spot Clean. These alternative methods provide flexibility and ensure thorough cleaning of pet hair from different surfaces.
How Often Should I Clean My Tool Attachment to Prevent Pet Hair Buildup?
I clean my tool attachment to prevent pet hair buildup by following these steps: 1) Disconnect the attachment from the Bissell Spot Clean. 2) Use a brush or comb to remove hair. 3) Rinse with water and let it dry completely before reattaching.
Is It Necessary to Disconnect the Bissell Spot Clean From the Power Source Before Taking Apart the Tool Attachment?
No, it is not safe to disassemble the tool attachment of a Bissell Spot Clean while it is still plugged in. Always disconnect the machine from the power source before attempting to remove pet hair.
What Should I Do if I Accidentally Damage the Tool Attachment While Trying to Remove Pet Hair?
If I accidentally damage the tool attachment while trying to remove pet hair, I should first assess the extent of the damage. If it’s repairable, I can try fixing it myself or seek professional help. If it’s irreparable, I can explore alternatives to the attachment.
Are There Any Specific Cleaning Products or Solutions That I Should Use to Clean the Tool Attachment After Removing Pet Hair?
When it comes to cleaning tool attachments after removing pet hair, it’s important to use recommended cleaning solutions. Additionally, follow these tips to maintain their cleanliness and longevity.
Conclusion
In conclusion, by following the steps outlined above, you can easily take apart the tool attachment of your Bissell Spot Clean to effectively remove pet hair.
With a little patience and attention to detail, you’ll be able to access those hard-to-reach areas where pet hair might be trapped.
Once you’ve removed the pet hair, don’t forget to clean the tool attachment thoroughly for optimum performance.
By implementing these simple techniques, you’ll have a spotless and hair-free cleaning experience.

James is an integral member of our Pet Hair Vacuum Critic team, where his love for animals and strong writing skills converge to create informative and engaging content for our readers.
James’s journey into the realm of pet care and pet hair management began with his personal experiences as a pet owner. He understands the daily challenges and joys that come with sharing a home with furry companions, and this personal connection drives his commitment to helping others navigate the world of pet hair removal and management.

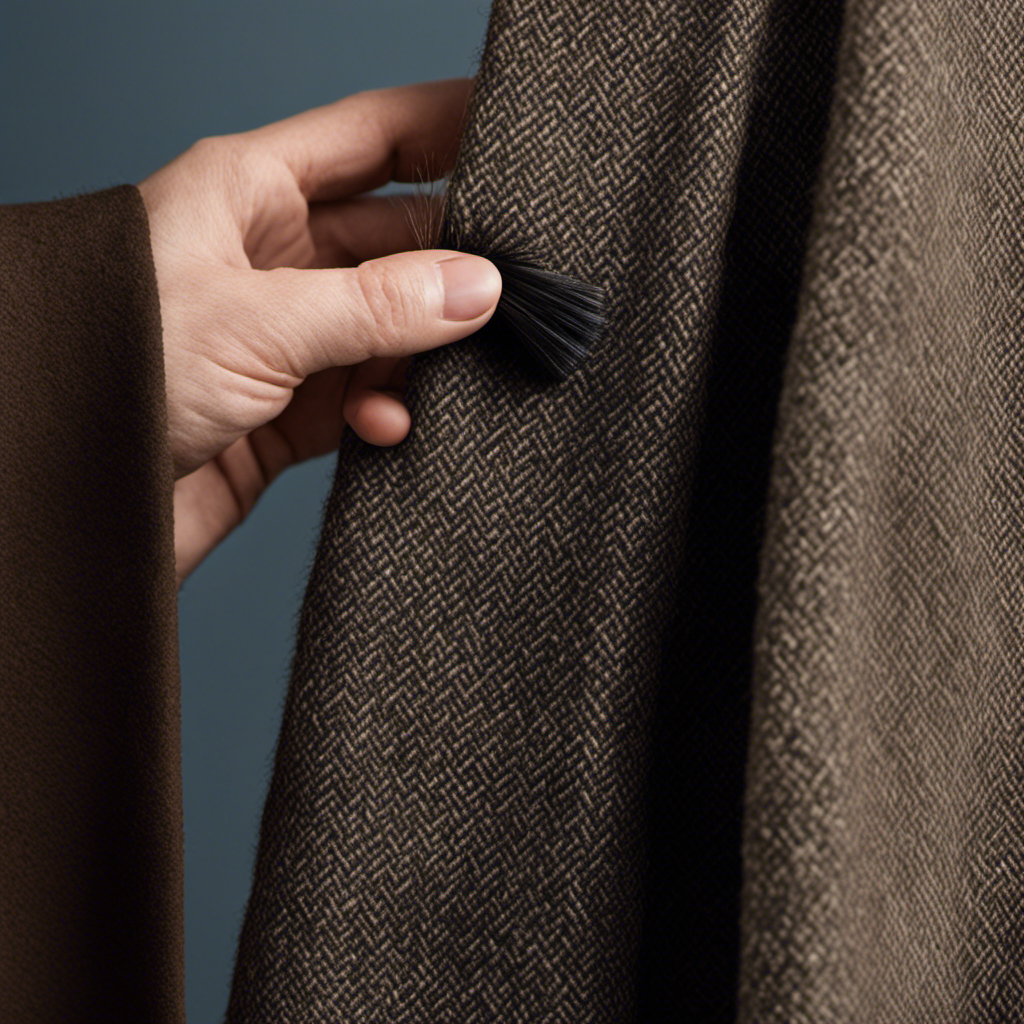
Wrapping myself in my cozy wool coat has always been a source of happiness for me, but the constant shedding from my furry companion turned it into a hairy situation.
Luckily, I’ve discovered some effective techniques for removing pet hair from wool coats. In this article, I’ll share the essential tools and supplies you’ll need, along with step-by-step instructions to ensure your coat stays pet hair-free.
Say goodbye to those pesky furballs and hello to a clean, stylish wool coat!
Key Takeaways
- Wool fabric attracts and traps pet hair easily, making it difficult to remove.
- Essential tools for removing pet hair from wool coats include a lint roller, masking tape, and a fabric brush with soft bristles.
- Preparing the wool coat by using a lint roller, masking tape, and brushing with a fabric brush helps prevent and remove pet hair.
- Effective techniques for removing pet hair from wool coats include using static electricity, dampened rubber gloves, and a clothes brush with stiff bristles.
Understanding the Challenges of Pet Hair Removal on Wool Coats
I’ve learned that removing pet hair from my wool coat can be quite challenging. Wool is a fabric that attracts pet hair easily, making it difficult to get rid of completely. The dense fibers of wool tend to trap the hair, making it stick stubbornly to the surface.
Brushing or shaking off the coat may not be enough to remove all the pet hair, as it can embed itself deep into the fabric. Additionally, the natural static electricity of wool can further exacerbate the difficulty in removing pet hair.
The challenges of pet hair removal on wool coats require special techniques and tools to effectively tackle the problem.
Essential Tools and Supplies for Removing Pet Hair From Wool Coats
To effectively tackle the task at hand, I’ll need a lint roller, masking tape, and a fabric brush to remove the pesky fur from my cozy wool coat. These tools and techniques are essential for successful pet hair removal. Let’s take a closer look at each one:
| Tools and Techniques | Description |
|---|---|
| Lint Roller | This sticky roller is perfect for quickly removing pet hair from the surface of your wool coat. Simply roll it over the fabric, and the adhesive will pick up the fur. |
| Masking Tape | Use masking tape to remove stubborn pet hair from hard-to-reach areas. Wrap a piece of tape around your hand, sticky side out, and pat it gently on the coat to lift the hair. |
| Fabric Brush | A fabric brush with soft bristles is ideal for removing deeply embedded pet hair. Brush the coat in long, sweeping motions to loosen the fur and then use a lint roller or tape to pick it up. |
Preparing the Wool Coat for Pet Hair Removal
Using a lint roller, masking tape, and a fabric brush, I can effectively prepare my wool coat for the removal of pesky pet fur. Cleaning methods are essential to ensure a fur-free coat.
First, I start by using a lint roller to remove any loose pet hair on the surface of the coat. I gently roll the sticky adhesive over the fabric, making sure to cover every inch.
Next, I take a piece of masking tape and wrap it around my hand, sticky side out. I lightly press the tape onto the coat, patting it to pick up any remaining hair.
Finally, I gently brush the coat with a fabric brush to smooth out the fibers and remove any remaining pet hair.
These preventive measures help to keep my wool coat looking fresh and clean, even in the presence of fur-loving pets.
Effective Techniques for Removing Pet Hair From Wool Coats
Brushing the fabric vigorously with a lint roller helps to eliminate the presence of pesky pet fur on my wool coat. However, there are other effective techniques for removing pet hair from wool coats.
One helpful tool is static electricity. Rubbing a blown-up balloon or a dryer sheet on the coat creates static electricity, which attracts the pet hair and makes it easier to remove.
Another natural remedy is using rubber gloves. Dampen the gloves slightly and run your hands over the coat. The rubber texture will catch the pet hair, making it simple to peel off.
Additionally, a clothes brush with stiff bristles can be used to brush away pet hair. Gently stroke the coat in the opposite direction of the fur to loosen the hair, then use the brush to remove it.
These alternative methods are simple yet effective in ensuring a pet hair-free wool coat.
Maintaining a Pet Hair-Free Wool Coat: Tips and Tricks
I find that regularly employing static electricity, rubber gloves, and a clothes brush with stiff bristles helps me maintain a pet hair-free wool coat. Static electricity is a great tool for removing pet hair from clothing. I simply rub a balloon or a dryer sheet over the surface of my coat to create static, which attracts the hair and makes it easier to remove. Rubber gloves are another DIY solution that works wonders. I put on a pair of slightly damp gloves and run my hands over the coat, pressing firmly to lift the hair. The dampness helps to cling the hair to the gloves. Lastly, a clothes brush with stiff bristles is perfect for removing stubborn pet hair from wool. I use long, sweeping strokes to brush the coat, focusing on the areas with the most hair buildup.
To better illustrate these techniques, here is a helpful table:
| Technique | How to Use |
|---|---|
| Static Electricity | Rub a balloon or dryer sheet over the coat to create static. |
| Rubber Gloves | Put on slightly damp gloves and run hands over the coat. |
| Clothes Brush | Use long, sweeping strokes to brush the coat. |
| Focus on Problem Areas | Pay extra attention to areas with the most hair buildup. |
Frequently Asked Questions
Can I Use a Lint Roller to Remove Pet Hair From a Wool Coat?
Yes, I use a lint roller to remove pet hair from my wool coat. It’s effective and easy to use. However, there are alternatives like using a damp cloth or a rubber glove to remove the hair as well.
How Often Should I Remove Pet Hair From My Wool Coat?
I groom my pet regularly to minimize shedding and use home remedies to remove pet hair from clothing. It’s important to stay on top of it to keep my wool coat looking clean and fresh.
Can I Use a Fabric Softener Sheet to Remove Pet Hair From a Wool Coat?
Yes, you can use a fabric softener sheet to remove pet hair from a wool coat. However, there are alternative methods for removing pet hair from wool coats, such as using a lint roller or a damp cloth.
Is It Safe to Use a Vacuum Cleaner on a Wool Coat to Remove Pet Hair?
Using a vacuum cleaner on a wool coat may not be safe as it could damage the fabric. Instead, try hand washing the coat with a damp cloth to effectively remove pet hair.
Can I Use a Clothes Brush to Remove Pet Hair From a Wool Coat?
Using a clothes brush is an effective way to remove pet hair from a wool coat. However, there are alternative methods like lint rollers or sticky tape. It’s important to follow best practices to avoid damaging the fabric.
Conclusion
In conclusion, removing pet hair from wool coats can be a challenging task. However, with the right tools and techniques, it’s possible to maintain a pet hair-free coat.
Did you know that pet hair can be a major contributor to allergies and respiratory issues? By regularly removing pet hair from your wool coat, you can minimize these risks and keep your coat looking fresh and clean.
Remember to use gentle methods and take proper care of your wool coat to ensure its longevity.

Janet is an esteemed member of our dedicated team at Pet Hair Vacuum Critic, where her profound passion for pets and her exceptional writing talents combine to produce informative and engaging content for our readers.
Janet’s journey into the realm of pet care and pet hair management stems from her personal experiences as a devoted pet owner. Her firsthand understanding of the challenges and joys that come with living alongside furry companions fuels her dedication to assisting others in navigating the intricate world of pet hair removal and management.

I love cuddling with my pets, but I can’t stand the mess they leave on my bedding. Before washing, I’ve discovered some simple techniques to remove all that stubborn pet hair.
In this article, I’ll share my go-to tools and techniques for getting rid of pet hair effectively. From choosing the right brush to utilizing lint rollers and tape, I’ll show you how to make your sheets pet hair-free in no time.
Key Takeaways
- Lint roller, damp rubber glove, squeegee with a rubber edge, and regular brushing are effective tools for removing pet hair from sheets.
- Shaking the sheet vigorously, using a lint roller or sticky lint brush, dampening a rubber glove, and pre-washing methods help prepare the sheet for pet hair removal before washing.
- Lint roller or sticky brush, damp rubber glove, rubbing a fabric softener sheet, and regular brushing techniques are effective in removing pet hair from sheets.
- Dampening a lint roller, using lint rollers or tape, misting the fabric surface with water, and using a damp rubber glove or fabric softener sheet are expert tips for stubborn pet hair removal from sheets.
Choosing the Right Tools
I usually use a lint roller to remove pet hair before washing my sheets. It’s a simple and effective tool that easily picks up stray hairs from the fabric.
But there are other pet hair removal hacks that can help prevent hair buildup on your sheets.
One trick is to dampen a rubber glove and run it over the surface of your sheets. The static electricity created will attract the hair, making it easier to remove.
Another option is to use a squeegee, typically used for cleaning windows. Simply run it across the sheet, and the rubber edge will collect the pet hair.
Regularly brushing your pet’s fur can also help reduce shedding and prevent excessive hair from accumulating on your sheets.
Preparing the Sheet for Pet Hair Removal
To get rid of the pet hair on the sheet, I usually start by shaking it vigorously outside. This helps to loosen and remove any loose hair that may be stuck to the fabric.
Once I’ve done that, I move on to pre-washing methods to further eliminate the pesky pet hair. One effective method is to use a lint roller or a sticky lint brush. Simply roll or brush it over the sheet, focusing on areas where the hair is most concentrated.
Another natural remedy is to dampen a rubber glove and run it over the sheet. The static electricity will attract the hair and make it easier to remove.
These pre-washing methods are essential in preparing the sheet for a thorough wash.
Now, let’s move on to the next step: using effective brushing techniques.
Using Effective Brushing Techniques
Using a lint roller or sticky brush is an effective way to eliminate excess pet hair from the sheet. However, there are alternative methods worth considering to prevent pet hair buildup.
One such method is using a damp rubber glove. Simply dampen the glove and run your hand over the sheet to collect the hair. The dampness helps to attract the hair, making it easier to remove.
Another alternative is using a fabric softener sheet. Rubbing the sheet over the sheet will create static, allowing the hair to stick to it.
Additionally, regularly brushing your pet’s fur can help prevent excessive shedding and minimize the amount of hair that ends up on your sheets.
Utilizing Lint Rollers and Tape
After dampening the lint roller, I roll it over the sheet to easily pick up any pet hair. Lint rollers are a great tool for removing pet hair from fabric surfaces, including bed sheets. They’re designed with adhesive sheets that effectively trap and remove pet hair.
By dampening the roller slightly, it becomes even more effective at picking up stubborn pet hair. The moisture helps to weigh down the hair, making it easier to stick to the adhesive surface.
Lint rollers are a convenient and quick solution for removing pet hair before washing your sheets. However, if you prefer an alternative method, you can also try using wide tape or masking tape wrapped around your hand, sticky side out. This will achieve a similar result.
Expert Tips for Stubborn Pet Hair Removal
I find that lightly misting the fabric surface with water helps to loosen stubborn pet hair for easier removal.
When it comes to reducing pet shedding and keeping your sheets hair-free, there are alternative methods you can explore. Here are some expert tips for removing pet hair effectively:
- Use a rubber glove: Put on a damp rubber glove and run your hand over the fabric, the hair will stick to the glove.
- Try a fabric softener sheet: Rubbing a dryer sheet over the surface of your sheets can help attract and collect pet hair.
- Use a pet hair removal brush: These specially designed brushes have bristles that help lift and remove pet hair from fabric surfaces.
By incorporating these techniques into your routine, you can enjoy clean and hair-free sheets, promoting a more comfortable sleep environment.
Frequently Asked Questions
Can I Use a Vacuum Cleaner to Remove Pet Hair From My Sheets?
Yes, you can use a vacuum cleaner to remove pet hair from your sheets. However, there are other methods for removing pet hair such as using a lint roller, rubber gloves, or even dampening the sheets before washing.
Is It Necessary to Remove All the Pet Hair From the Sheets Before Washing Them?
It’s important to remove pet hair from sheets before washing them. Not only does it help keep the washing machine clean, but it also ensures that the sheets come out looking fresh and hair-free.
Can I Use a Fabric Softener to Prevent Pet Hair From Sticking to the Sheets?
Yes, you can use a fabric softener to help prevent pet hair from sticking to sheets. However, using a lint roller for pet hair removal and wetting the sheets before washing can also be effective methods.
What Should I Do if My Sheets Are Made of Delicate Fabric and Can’t Be Brushed?
If my sheets are delicate and can’t be brushed, I would consider alternative methods to remove pet hair. One option is to use a lint roller or tape to gently lift the hair. Another option is to take them to a professional dry cleaner.
Are There Any Specific Techniques for Removing Pet Hair From Fitted Sheets?
To remove pet hair from fitted sheets, I recommend using pet hair removal tools like lint rollers or rubber gloves. Alternatively, you can try using a damp cloth or a vacuum cleaner with a brush attachment.
Conclusion
In conclusion, removing pet hair from sheets can be a daunting task, but fear not! With the right tools, techniques, and a sprinkle of determination, you can conquer those furry obstacles.
Remember to choose tools that efficiently collect pet hair, prepare the sheet by shaking it vigorously, use effective brushing techniques, and don’t forget the power of lint rollers and tape.
With these expert tips, you’ll be saying goodbye to pet hair on your sheets and hello to clean, hair-free slumber. Rest easy, my friends.
Janet is an esteemed member of our dedicated team at Pet Hair Vacuum Critic, where her profound passion for pets and her exceptional writing talents combine to produce informative and engaging content for our readers.
Janet’s journey into the realm of pet care and pet hair management stems from her personal experiences as a devoted pet owner. Her firsthand understanding of the challenges and joys that come with living alongside furry companions fuels her dedication to assisting others in navigating the intricate world of pet hair removal and management.

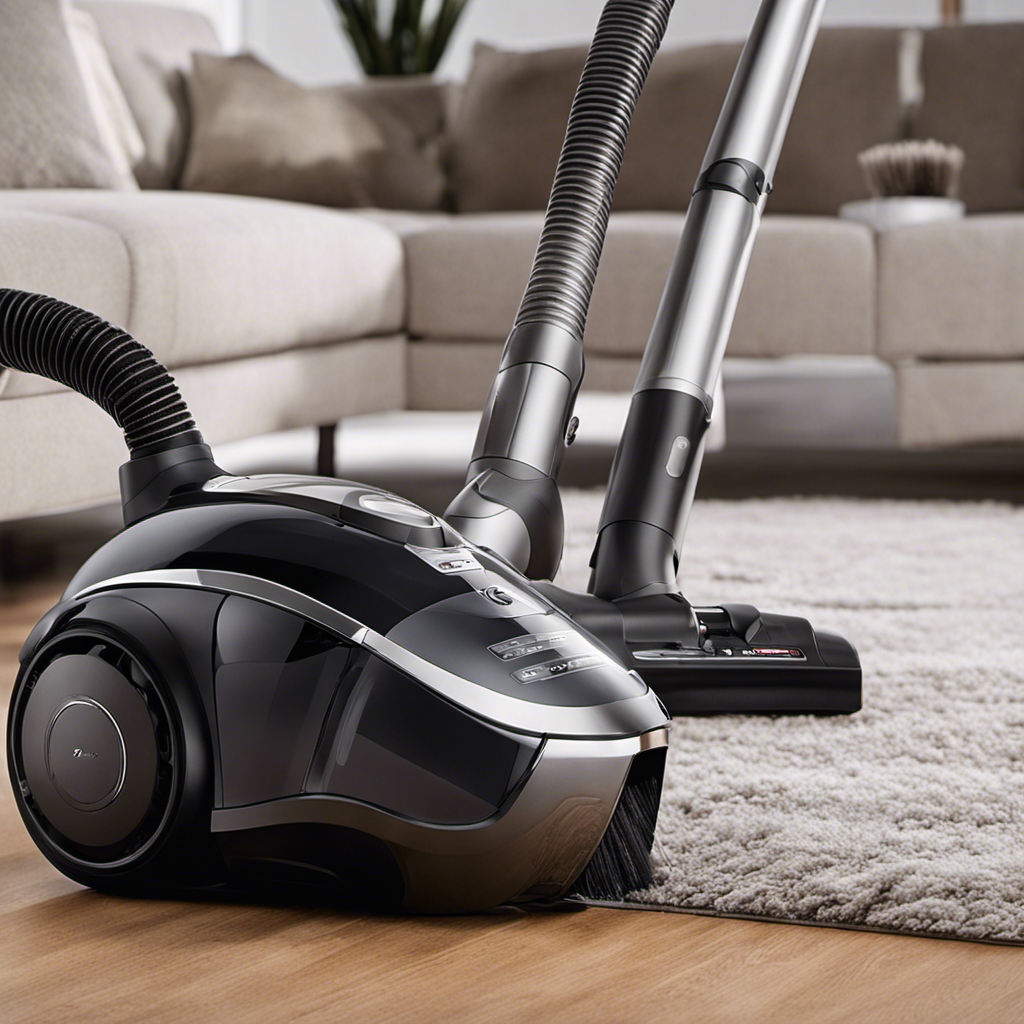
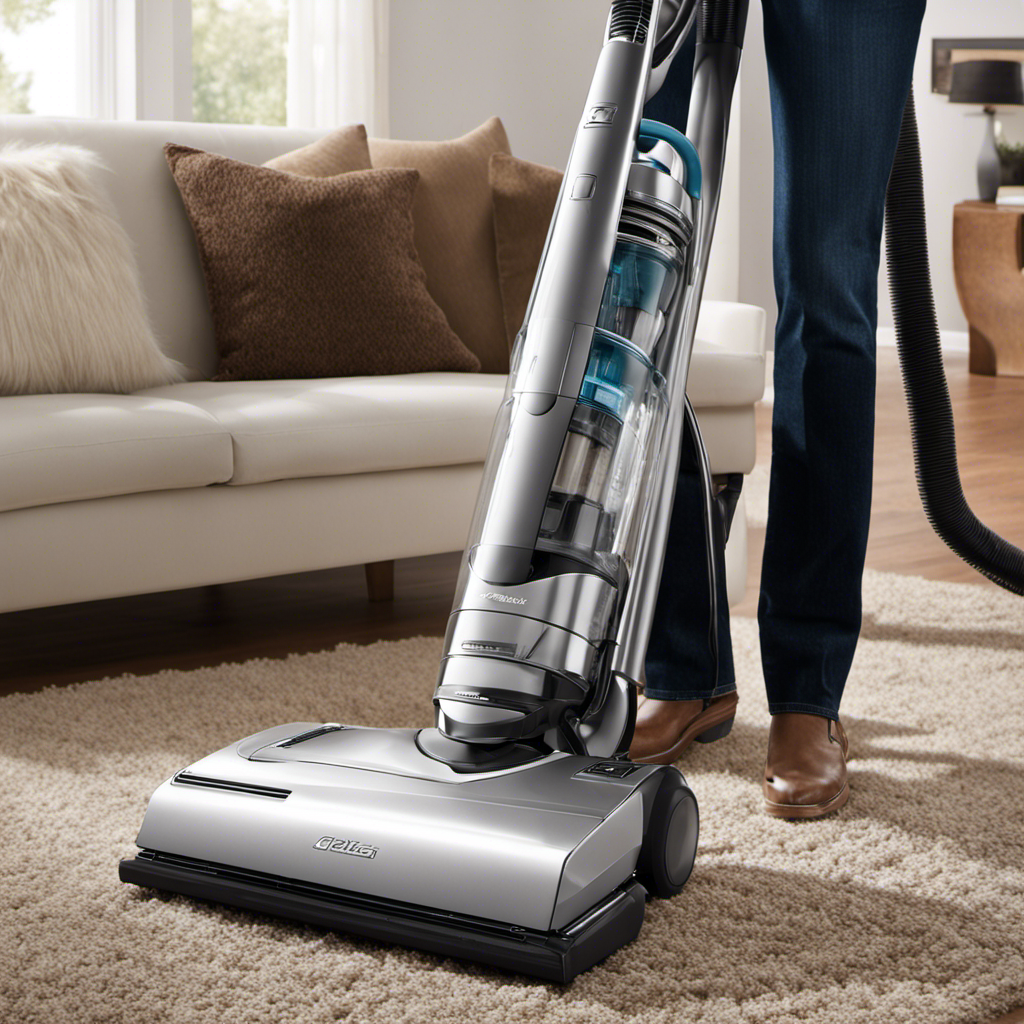
I have tried all the techniques I know to remove pet hair from my upholstery, but none have been fast and effective.
That is, until I discovered the magic of upholstery vacuum accessories. These little wonders have revolutionized my cleaning routine, making pet hair removal a breeze.
In this article, I’ll share my knowledge and tips on how to remove pet hair faster with upholstery vacuum accessories.
Say goodbye to endless lint rollers and hello to a hair-free home!
Key Takeaways
- Upholstery vacuum accessories make pet hair removal easier and more efficient.
- Different accessories are available for targeted cleaning on different types of furniture.
- Regular grooming and use of accessories help reduce shedding and keep upholstery clean.
- Proper maintenance and care of accessories ensure long-lasting performance.
Benefits of Using Upholstery Vacuum Accessories for Pet Hair Removal
Using upholstery vacuum accessories for pet hair removal has made my cleaning routine much easier and more efficient. The various vacuum attachment options available for removing pet hair from upholstery provide targeted cleaning solutions for different types of furniture.
One option is the upholstery brush attachment, which has soft bristles that effectively loosen and lift pet hair from fabric surfaces. Another option is the pet hair turbo brush attachment, which features a rotating brush that agitates the hair and helps to dislodge it from deep within the upholstery.
These attachments not only remove visible hair but also help in reducing pet hair allergies. By thoroughly removing pet hair from upholstery, these vacuum accessories minimize the amount of allergens in the air, providing relief to those with allergies.
Overall, using upholstery vacuum accessories is a game-changer in tackling pet hair removal, making cleaning easier and promoting a healthier living environment.
Choosing the Right Upholstery Vacuum Accessories for Pet Hair Removal
When selecting the right accessories for removing pet hair from upholstery, I find it helpful to consider the type of fabric and the suction power of the vacuum. Regular grooming is important for pet hair removal as it helps to reduce shedding and keeps your upholstery clean. There are different types of upholstery vacuum accessories available in the market that can make the task easier and more efficient. Here is a table highlighting three popular accessories:
| Accessory | Description | Benefits |
|---|---|---|
| Pet hair brush | Specifically designed bristles that effectively lift and remove pet hair from upholstery | Reduces the need for multiple passes and minimizes hair entanglement |
| Crevice tool | Long, narrow attachment for reaching into tight spaces and corners | Allows for thorough cleaning in hard-to-reach areas |
| Upholstery nozzle | Wide and flat tool with brush bristles for gentle but effective cleaning | Protects delicate fabrics while effectively removing pet hair |
Step-By-Step Guide to Effectively Removing Pet Hair With Upholstery Vacuum Accessories
To effectively tackle pet hair on upholstery, I start by preparing my vacuum and selecting the right accessories for the job. When it comes to removing pet hair from different types of upholstery surfaces, there are a few techniques that work best.
For fabric upholstery, I use a brush attachment to loosen the hair and then follow up with a crevice tool to suction it away. For leather upholstery, I use a soft brush attachment to avoid scratching the surface. One common mistake to avoid is using too much pressure, as this can push the hair deeper into the fabric. Another mistake isn’t cleaning or replacing the accessories regularly, which can reduce their effectiveness.
By taking these precautions, I ensure that my upholstery vacuum accessories are working at their best to remove pet hair efficiently.
Now, let’s move on to some tips and tricks for maximizing the efficiency of upholstery vacuum accessories for pet hair removal.
Tips and Tricks for Maximizing the Efficiency of Upholstery Vacuum Accessories for Pet Hair Removal
I’ve found that regularly cleaning and maintaining my vacuum accessories greatly improves their effectiveness in tackling the pet hair on my upholstery. Not only does it improve suction power, but it also prevents clogs. Here are some tips and tricks that I’ve learned along the way to maximize the efficiency of my upholstery vacuum accessories:
| Tips and Tricks |
|---|
| Clean the brush roll regularly to remove any tangled hair or debris. This will prevent clogs and ensure optimal suction power. |
| Empty the dustbin frequently to avoid buildup and maintain strong suction. |
| Check the filters regularly and clean or replace them as needed. Clogged filters can greatly reduce suction power. |
| Use a pet hair attachment or upholstery tool for targeted cleaning. These accessories are designed to effectively remove pet hair from upholstery. |
Maintenance and Care of Upholstery Vacuum Accessories for Long-lasting Performance
Regularly cleaning and maintaining my vacuum accessories ensures their long-lasting performance.
When it comes to cleaning techniques, there are a few common mistakes that people often make.
One of the most common mistakes isn’t cleaning the accessories after each use. Pet hair can quickly accumulate and clog the brushes and filters, reducing the suction power and overall efficiency of the vacuum.
To avoid this, I make it a habit to clean the accessories thoroughly after every use. This includes removing any trapped hair or debris from the brushes and filters, as well as wiping down the surfaces to prevent any buildup.
Additionally, I also check for any signs of wear and tear, such as frayed cords or damaged attachments, and promptly address them to maintain the optimal performance of my vacuum accessories.
Frequently Asked Questions
Can Upholstery Vacuum Accessories Be Used on All Types of Furniture?
Upholstery vacuum accessories are generally compatible with different furniture materials, but it’s important to check the manufacturer’s recommendations. They are usually effective in removing various types of pet hair from upholstery.
Are Upholstery Vacuum Accessories Safe to Use on Delicate Fabrics?
Yes, upholstery vacuum accessories can be safe to use on delicate fabrics. However, it’s always a good idea to test on a small, inconspicuous area first. If you’re concerned, there are alternative cleaning methods to prevent potential damage.
How Often Should Upholstery Vacuum Accessories Be Cleaned?
I clean my upholstery vacuum accessories regularly to maintain their efficiency. To remove pet hair from them, I use a brush attachment and ensure thorough cleaning of the accessories. Here are some tips for maintaining upholstery vacuum accessories.
Can Upholstery Vacuum Accessories Remove Embedded Pet Hair From Deep Within the Furniture?
Yes, upholstery vacuum accessories can effectively remove embedded pet hair from deep within furniture. The best accessories for pet hair removal include specialized brush attachments and powerful suction capabilities.
Are There Any Specific Techniques to Use When Using Upholstery Vacuum Accessories for Pet Hair Removal?
When it comes to removing pet hair faster with upholstery vacuum accessories, there are some specific techniques that can make a big difference. By using the right attachments and applying proper suction, you’ll be able to tackle the task with ease.
Conclusion
In conclusion, using upholstery vacuum accessories for pet hair removal is a highly efficient and effective method. By choosing the right accessories and following a step-by-step guide, you can easily remove pet hair from your upholstery.
Additionally, by implementing maintenance and care practices, you can ensure the long-lasting performance of your upholstery vacuum accessories.
So, say goodbye to pesky pet hair and enjoy a clean and hair-free home.
Janet is an esteemed member of our dedicated team at Pet Hair Vacuum Critic, where her profound passion for pets and her exceptional writing talents combine to produce informative and engaging content for our readers.
Janet’s journey into the realm of pet care and pet hair management stems from her personal experiences as a devoted pet owner. Her firsthand understanding of the challenges and joys that come with living alongside furry companions fuels her dedication to assisting others in navigating the intricate world of pet hair removal and management.
-
 Guides & FAQs2 weeks ago
Local Customer Raves About Prompt Delivery
-
 Vacuums for Pet Hair Removal3 months ago
What Is Different About a Pet Hair Vacuum
-
 Guides & FAQs2 weeks ago
Local Resident Raves About Amazing Service
-
 Guides & FAQs2 weeks ago
Local Customer Raves About Graco’s Excellent Service
-
 Guides & FAQs2 weeks ago
Thrilled Customer Raves About Graco’s Outstanding Products
-
 Vacuums for Pet Hair Removal3 months ago
What Is Best Vacuum for Pet Hair
-
 Guides & FAQs2 weeks ago
Sydney Customer Raves About Amazing Paint Experience
-
 Guides & FAQs2 weeks ago
Pet Hair Under Contact Lense, What to Do